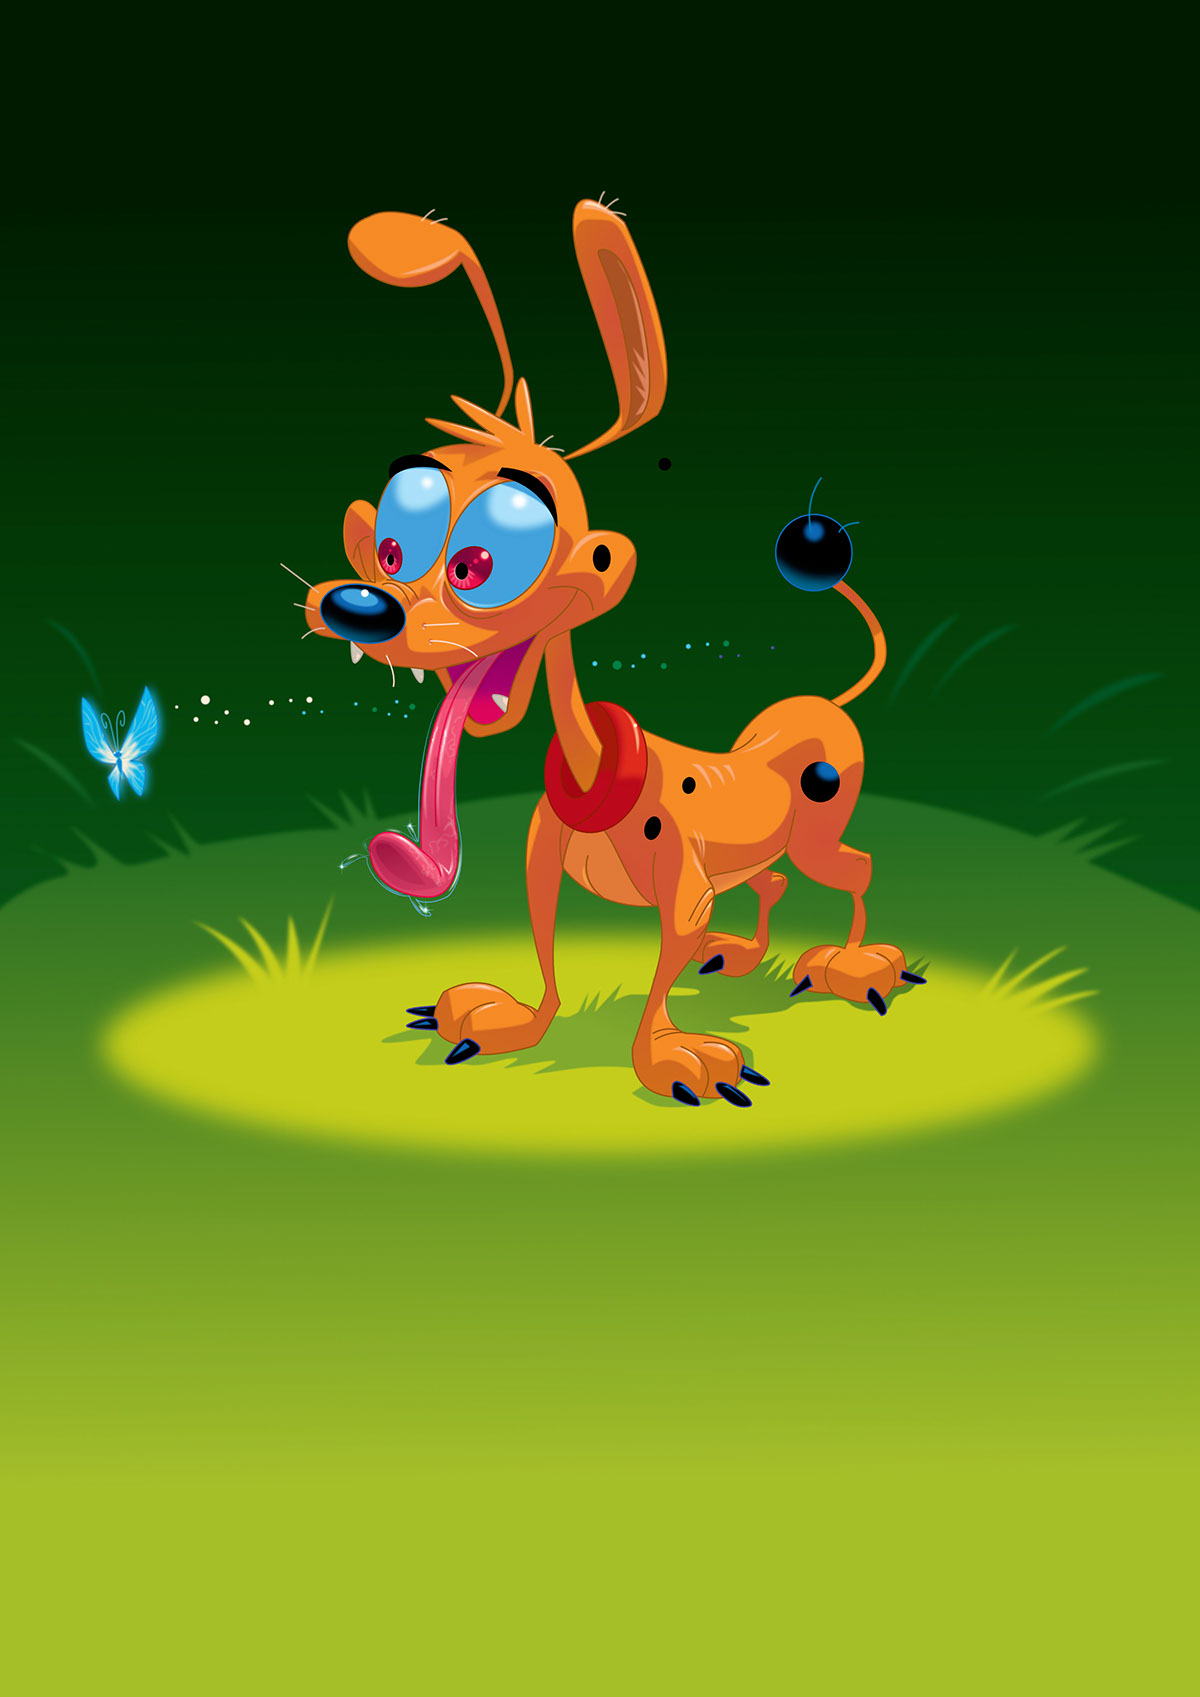
Here is the finalised pooch complete with butterfly and pollen trail. Affinity Designer really has opened up a lot more opportunities for me to explore creative solutions to my illustration practiice!

Here I have selected the second icon on the top left hand of Affinity's work area, which takes us into Affinity's bitmap profile. I am just adding some painted highlights and texture to the pooch's tongue using one of Affinity's excellent drawing brushes—no more commuting between vector based and bitmap application shenanigans!

Here you can see that I have added dollops of dribble to the pooch's tongue and a motion blur to the butterfly's wing. The dribble was created with the pen tool but a bit of weight was added by selecting the Pressure button with the Stroke window—you can see the Stroke toolbox showing in the tabs on the right side of the workspace. The motion blur around the butterfly's wings was created by copying and pasting the wing behind the wing layer and then displacing it to the right and addidng some Gaussian Blur to it.

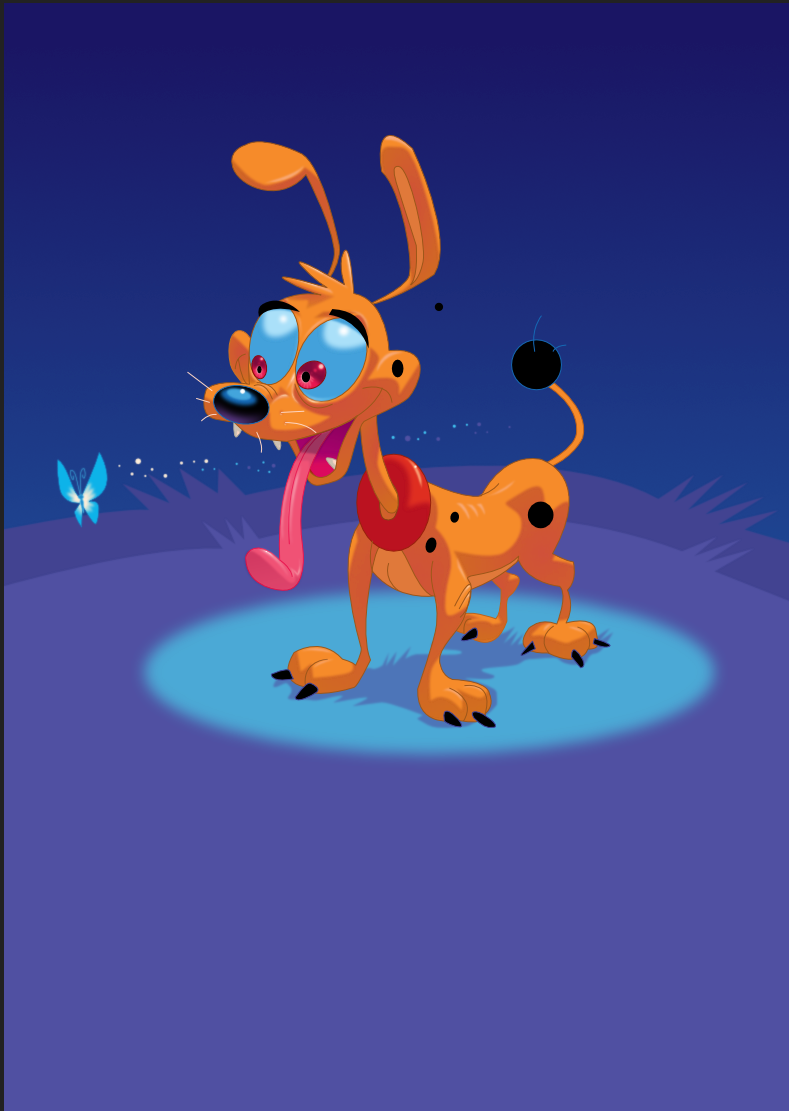
Time for a background colour rethink. The butterfly hints at summer and pools of light falling through leaves above, all of which were created using Affinity's Elipse Tool and Gaussian Blur.

Here is am just adding a bit of extra contrast to the pooch's tongue, by creating an extra shadow shape and using both Affinity Designer's gradient tool and Gaussian Blur to make the effect more painterly and less mechanical.
The butterfly is leaving a trail of pollen in it's wake. With all these effects you can add a feeling of tonal recession by modulating the colour and softness of the edges, something which is very easy to control in Affinity Designer.
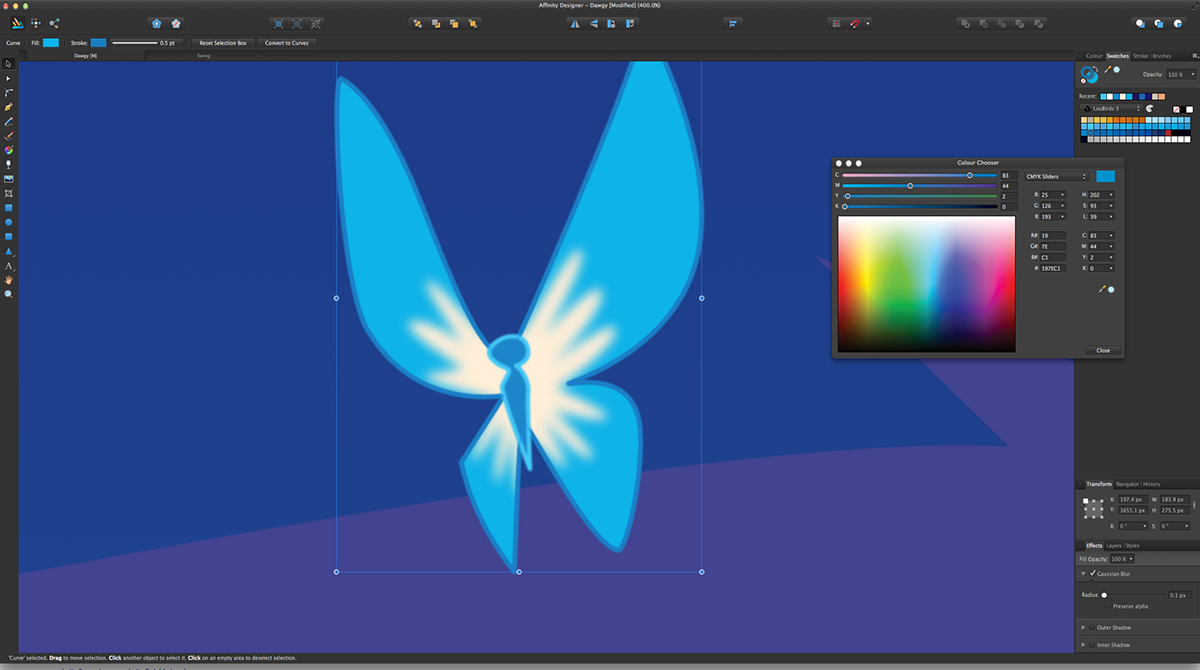
The dog was looking a little lonesome without a companion. Adding a butterfly adds a bit of magic and mystery to the image and creates a story around which to hang the drawing. You can see that the Gaussian Blur tool has been used to soften the edges of the glow pattern within the butterfly's wings.

You can see further detail being added using Affinity Designer's pen tool to create areas to be filled with details such as the eyelids and spot highlights on the eyes and nose. Keep harder edged highlights to bring details such as spot highlights to the foreground and softer edged highlights to pull back into the middle ground. This is where Affinity Designer's Gaussian Blur tool really comes into its own.

More work has been done on the modelling of the dog, you can see where the shadowed area sits within the outline and you can also see where highlights have been added to show areas where the dog's skin sits close to his skull. Try and observe how areas of light and shade define form by studying portraits and the world around you. Even if you are creating a crazy cartoon character, you need to "draw" on the world around you.

Now I am adding shadows to the dog's body, you can see the wireframe indication of Affinity Designer's placing a shape within a shape capability.

This is another example of Affinity Designer's paste within a shape coupled with its Gaussian Blur Tool. Affinity Designer is extremely RAM efficient, no more spinning beach balls, it does the job with no expenditure of sweat whatsoever. The slider on the Gaussian Blur tool is extremely responsive and you can see the effects of increasing the pixel radius to gain a softer blend in real time.

The shadow area of the iris is still selected and here, again, is where Affinity Designer knocks spots (excuse the pun) off the opposition, as I then soften the edges of the shadow by rummaging around in the Effects toolbox (bottom right hand corner) and pushing the Gaussian Blur slider to a radius of 1px.
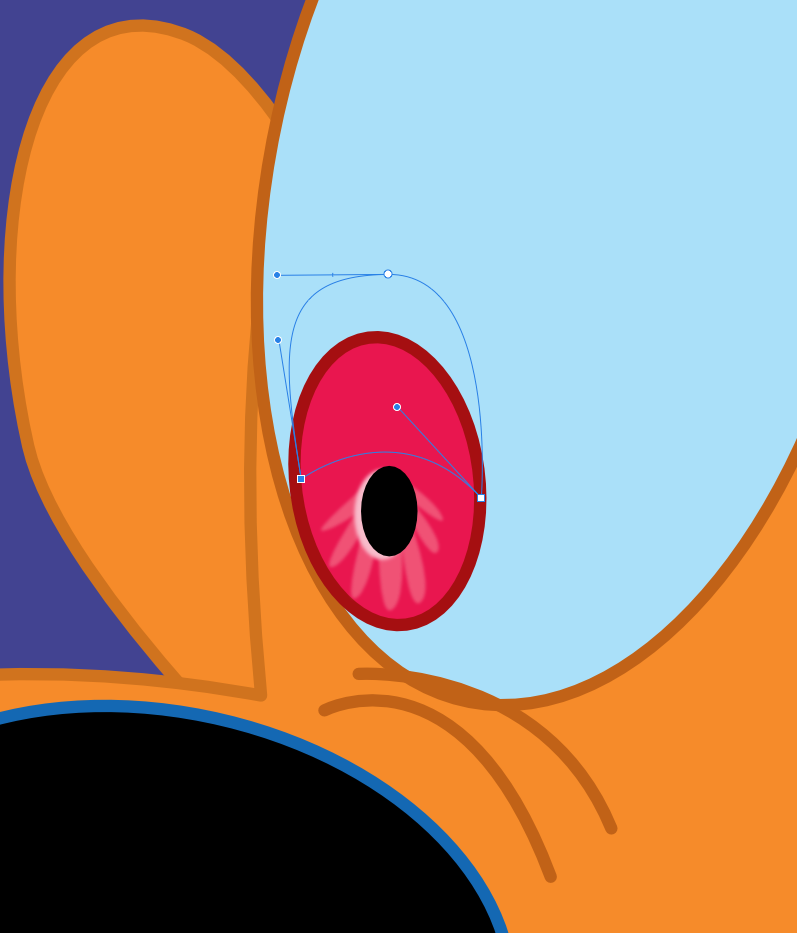
Here you see a repeat of Affinity Designer's paste within a shape capabilities, as I add a darker shadow to the dog's iris. "The eyes have it", as the old saying goes and it is always worth going the extra mile to add extra value to areas of expression such as the eyes.

The colours are being added with separate layers being created for the spotlit area beneath the dog's feet and the background. In the bottom right hand corner you can see the layer for the dog broken down to it's consituent shapes.
One of Affinity Designer's really brilliant features is it's ability to allow you to paste a shape within a pre-established outline. If you look at the doggy's tummy you can see a wireframe line extending beyond the tummy, that is where the lighter shape that has just been pasted in would extend to if it was sitiing on top of the shape rather than pasted within it.
One of Affinity Designer's really brilliant features is it's ability to allow you to paste a shape within a pre-established outline. If you look at the doggy's tummy you can see a wireframe line extending beyond the tummy, that is where the lighter shape that has just been pasted in would extend to if it was sitiing on top of the shape rather than pasted within it.

Using the pen tool, which prooduces really fabulous and zippy linework, I am mapping out the outline of the dog. I am not filling the larger shapes just yet, so my rough drawing can still act as a guide. With this drawing I am just using the pen tool with no weighting, so no brush effects with thick and thins. Just a nice technical drawing edge to the line—all the better for the more painterly effects that Affinity Designer delivers to play off against.

So another layer is created on top of the Background layer and filled with white. The opacity of the white layer was then reduced to 69% which you can see in the bottom right hand corner.
Drawing the outlines will then commence on a new layer on top of the white layer, using the pen tool (4th icon down on the toolbox on the left hand side of the work area.
Drawing the outlines will then commence on a new layer on top of the white layer, using the pen tool (4th icon down on the toolbox on the left hand side of the work area.

The pooch has now been opened up in Affinity Designer using the File-Open command. We are now ready to start working him up. But the line drawing is too dark to be able to comfortably work on.

The drawing of the cute little pooch in Manga Studio. Manga Studio 5 (imo) has the most sensitive and responsive drawing pens and brushes, and is where I create all my line work, both rough, as in this case, and finished line for final artwork when a brush inking style is required.


